

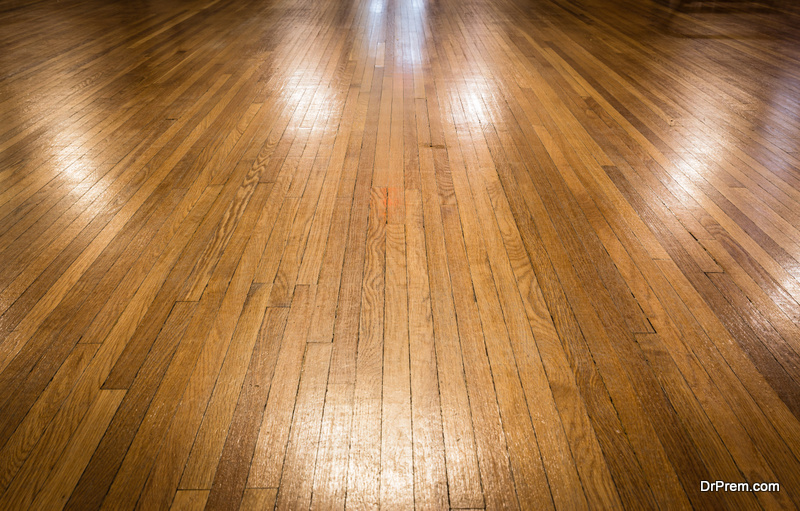
Solid hardwood flooring offers a rich and elegant appearance that works in just about any room. No wonder whether it is your living room, kitchen or even the bedroom. This would work. The only place where you might want to not be able to use a solid hardwood flooring is your bathroom as this flooring is not that resistant to moisture. That is why you should also buy solid hardwood flooring that has warranty with it.
Things to know before installing solid hardwood flooring
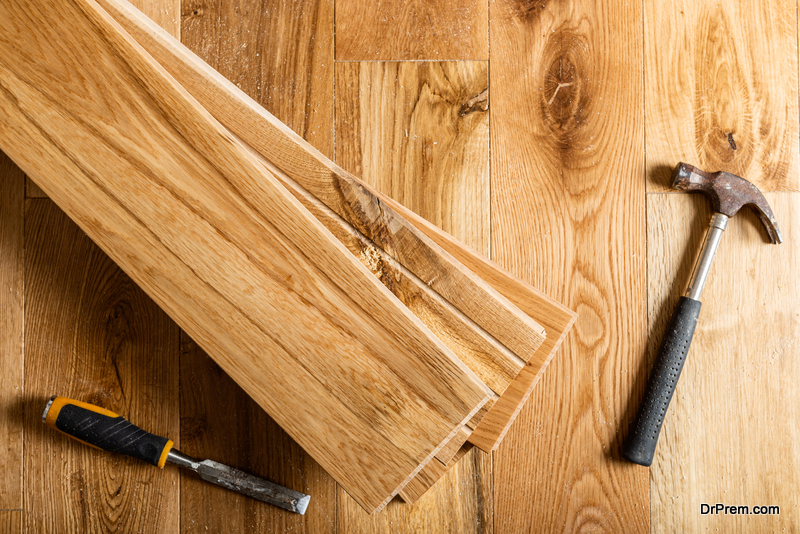
Going DIY while installing solid hardwood flooring isn’t a bad option at all. All you need is the required tools (pneumatic nailer,spacers, hammer, nail punch, mallet, wood glue) and steady hands. Rather than buying the equipment we suggest that you borrow them.
Steps for installing a solid hardwood flooring
1. The first row
 For this, make sure you choose only the planks that are straight enough or the ones that align without any indentation. Lay the planks in such a way that their tongue side faces the opposite wall. Drill holes at a 6-inch interval from each other and at a distance of half inch from the wall.
Nailing the first row
It is hard to use pneumatic at just the first row. So, you would have to nail the first row the old school way. Using nail punch countersink the nails and fill in the hole that is left with putty of matching color, so as not to leave any trace. After that blind nail at an angle of almost 45 degree throughout the tongue of the flooring.
2. The Second Row
 Things start getting easier when you approach the second row. Lock the tongue of the first row with the help of a mallet and make sure that the fix is tight. By staggering the end about six inches between each board, create the patter that you like. Don’t worry even if you have to cut a part of a board.
Nailing the second row
You can easily nail the second row using a pneumatic nailer. Since the nailer usually requires a lot of room, you might not be able to use before nailing a few rows. In case if it still doesn’t fit, use the same method you used for nailing the first row. However, in case it does, use pneumatic nailer as it saves a lot of trouble.
3. The Last Row
 You have to nail all the other rows in almost the same way mentioned above. It’s only in the last row that you’d have to nail differently. Once again, you’d have to nail using your hands. However, before doing so you might have to cut the piece at hand to fit the space. For nailing, use the method used while nailing the first row. In case if the space that is left is one inch long or lesser than that insert a piece of tongue or groove after applying wood glue to it. Using pry bar might help you in inserting the piece carefully.
Final Touch
When it comes to installing the transition pieces, try going by the instructions that the manufacture has provided you. After all is done, remove the spacers. Your stone wooden flooring is installed.
Article Submitted By Community Writer