

So many apparently unimportant products go into making your house appear beautiful finally. Underneath the external glamour lies the underlying tale of good quality of raw materials. Plaster is one such very important product whose good health is of paramount importance in determining the strength of the house and to fathom how much it can withstand.
So any damage to the plaster ceiling must be promptly addressed by patching cracks and fixing hairline cracks whichever the occurrence is. Reluctance to fix this timely leaves the house solidity vulnerable and can lead to further damage and weakening of the structure. In the following article we will be giving you some handy tips for repairing plaster ceiling.
Why the damage occurs?
 The plaster that is used on wood lath usually holds good for decent periods of time. But over even longer durations they start to show signs of decay. The plaster then starts to crack and crumble, disintegrating into exposing the ceiling or causing cracks. This makes it separate from the lath, weakening the house structure. The disturbance in the house or even an earthquake on rare occasions adds fuel to the procedure. So before we repair slugging ceiling we need to learn the causes. Here are some possible ones:
- Poor quality of plaster is always an issue. If you had invested initially in cheap plaster there is a good chance that you may have to invest now in fixing hairline crack that would frequently occur.
- Leaks due to faulty plumbing and water seeping from the roofs can fasten the process.
It discolors plaster and efflorescence is caused. The minerals and salt do considerable damage from there on.
- The people dwelling in the houses are always creating a certain level of stress and strain and that also amounts to the situation where you have to repair slugging ceiling.
How to go about repairing plaster ceiling?
While it does pose a significant threat to the house, in most cases it can be fixed very easily. However it is important to notice the nature of the cracks before you start on the process. If the crack leads from doors and window edges, the damage might be significant enough. You can then consider seeking help from a professional contractor in this regard.
Fixing hairline crack
 This is a comparatively easy task and you just need to confirm once that the lath and plaster are safely entwined. All you need to repair nail holes and fine cracks is a little spackling compound. Then follow the given procedure.
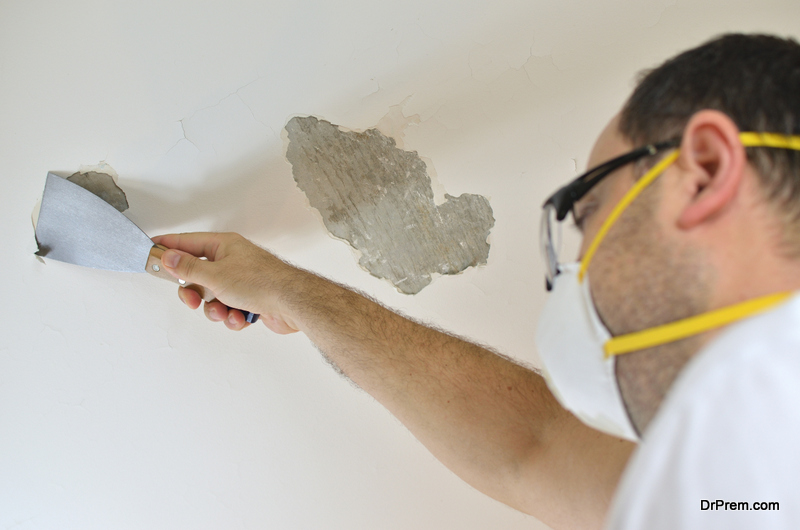
- You can use a can opener acting as a lever and pry open the crack around 1/8th
- Use a brush and a water solution mixed with tri-sodium phosphate to clean off the plaster dust.
- Then you need to have at your disposal small pieces of self-adhesive joint tape of fiberglass mesh. Let the groove be covered thereafter with this.
- After you are done with the above mentioned processes you can take a piece of cloth or sponge which will also help you to dampen the given area.
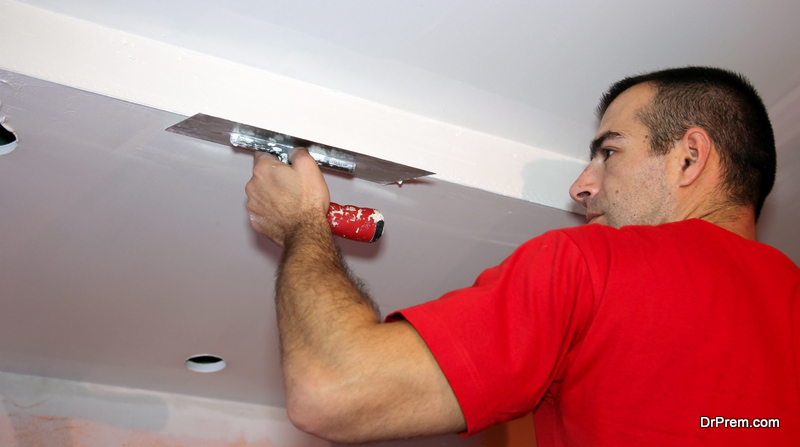
- Get hold of a setting type joint compound and a putty knife. Now mix the compound and put it over the tape. Use the knife to groove. Then leave it to dry and let it be evenly smoothened.
- After this you need to use another coat of the joint compound. Let this be applied smoothly and lodge them in the area not damaged. Let this dry and carefully manage to mix the patch in the wall.
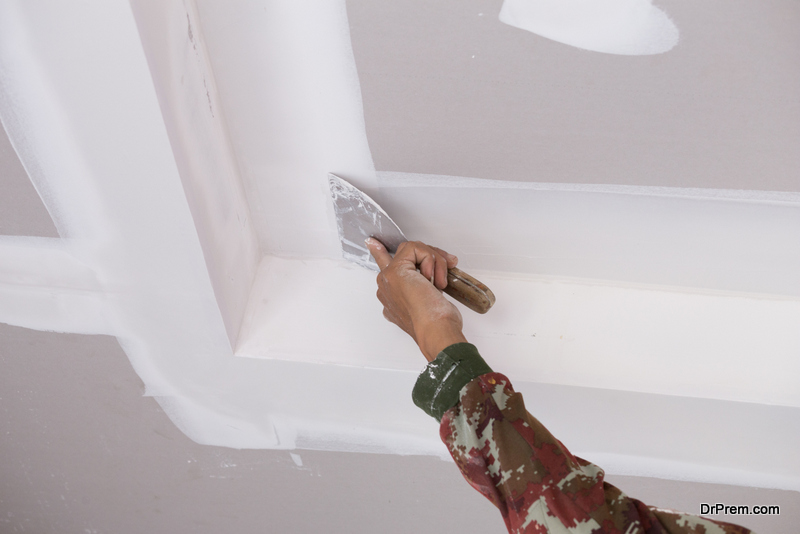
- Lastly use a good quality of latex primer and finish off your hard work with a good quality paint. Your task of patching cracks is accomplished.
For large sized cracks in repairing plaster ceiling
For cracks that are too large you need to follow somewhat the same process. Only after you are done with the procedure you need to fill up half of the crack with some patching plaster. This is just going to act as an adhesive for the next layer of plaster.
After you have again damped the patch you need to use a second layer of patching plaster for approximately 1/4th inch in the surface area. After this has dried up, you can go on to use another finishing plaster coat.
To fix sagging plaster
 Once you ensure protection for your house by covering it in plastic you should embark upon the procedure. Then all you need is a chisel alongside a hammer and you can check whether the plaster is attached firmly with the lath. You can then use drywall screws long enough to go deep in the wooden framing. Keep it in mind that it might be necessary to remove most of the plaster for the lath to be back up.
It is a tricky part of the job and if not comfortable do consider consulting a professional.
Final word
The work of repairing plaster ceiling may not be as troublesome as it appears to be. If you follow the instructions properly then you might save money you would otherwise have to pay a professional.