

Most truck owners have no idea how much it costs to paint a truck. Getting your truck professionally painted can run you $500 to $4,000, but did you know you can do it at home for a fraction of the price? Whether you’re thinking of sprucing up your ride or revitalizing faded paint, this guide is for you.
1. Wash your truck thoroughly
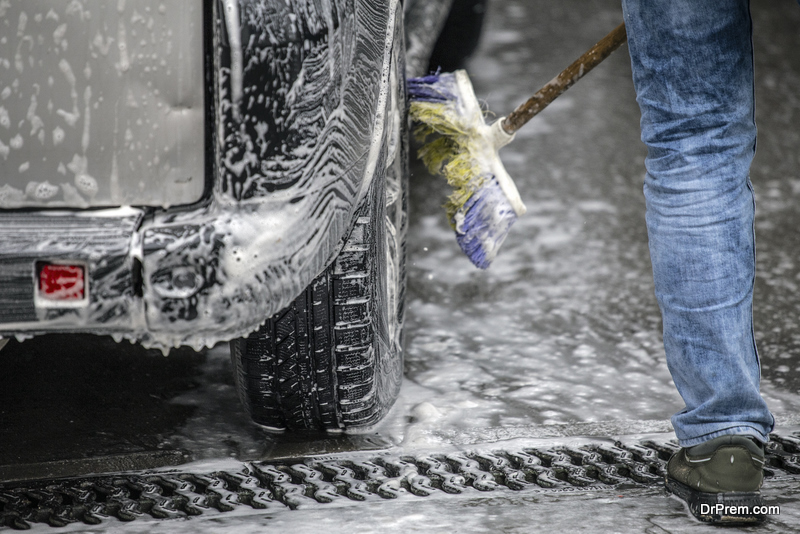
Before getting any paint on the vehicle, it’s important to clean it to remove dirt, oils, and other contaminants. This ensures a nice, even surface for your paint to adhere to. Once the truck is dry, you can get to work.
2. Prepare your workspace and materials
If you’re working outside, protect your driveway from paint drips and overspray by laying down newspapers or plastic sheeting. If you’re in the garage, lay down protective material on the floor and other surfaces. You could also hang plastic curtains around the perimeter of your vehicle.
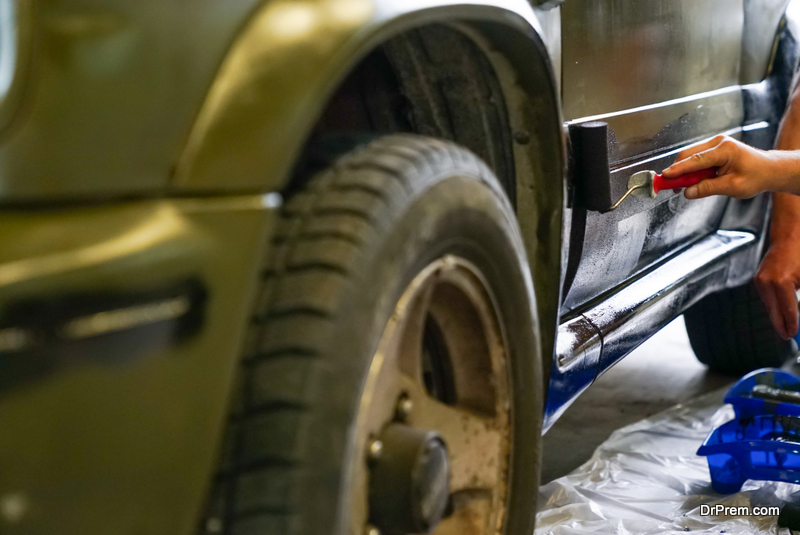
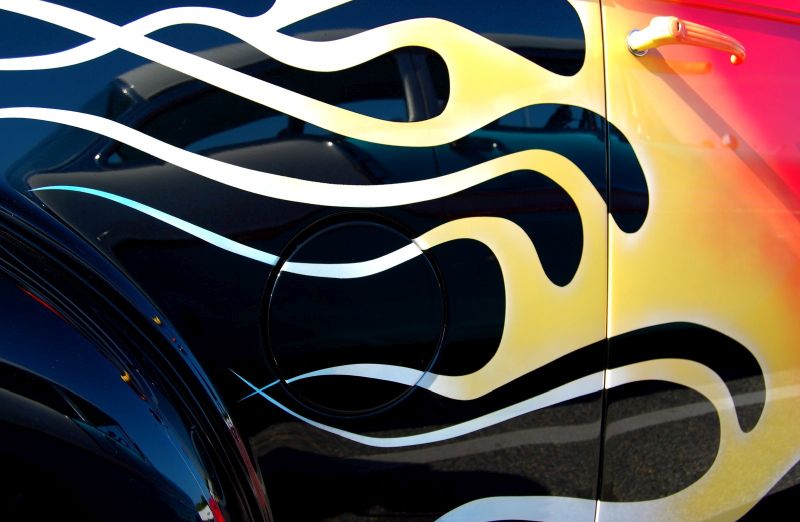
The materials you need will depend on how complex your paint job is. If your only aim is to fix scratches and faded paint, you need masking tape and protective material to mask any areas you don’t want to get paint on. You also need paint that’s a perfect match to your truck, some sandpaper in various grits, and polish. If you want to customize your paint job with designs, you’ll likely need paint in various colors and stencils for your design.
If you’re only working on tiny areas, touch-up pens are sufficient. For larger areas, consider using spray paint or an electric paint sprayer.
3. Work in thin layers
When painting, be patient and work with thin layers. Thick paint won’t blend well with the rest of your paint job and will result in splotchy colors. When working with spray paint, keep your hand moving left to right to ensure even and thin coverage. Wait until the layer is dry before adding another, repeating until the paint is opaque.
4. Don’t forget the clear coat
Once you finish painting, use a clear coat to create a glossy finish and to add another layer of protection to your paint job. This is a necessary step as it guarantees that the paint will last longer and prevent rapid oxidation and fading. Wait 24 hours to let everything dry, then inspect your paint job for any flaws before removing the masking tape and protective sheeting from your vehicle.
5. Blend the paint
You likely want your new paint job to meld seamlessly with the rest of your truck. To do this, use wet, fine sandpaper on the seam where the old paint meets new paint. Don’t overdo this step. You don’t want to remove more paint than necessary. Once the transition is smooth, buff polish onto the newly painted area to give it a shine.
Doing something yourself doesn’t just save you money; it also gives you a sense of accomplishment. Do your research and prepare adequately to avoid costly mistakes. There are endless online and offline resources for car enthusiasts, so help is never too far away.
Article Submitted By Community Writer