
Everyone dreams of acquiring their own house and more than that, the best feeling when you start organizing it to make it look best. While you decorate your house and buy the best of stuff, it’s important to get the best view from outside as well. And what’s better than an attractive nameplate made by you? Yes, there are varieties of DIY nameplate ideas for the house which is very simple and it gives a personalized touch to your house. Here are some innovative and easy ideas to make a nameplate.
1. Personalized nameplate
There are so many nameplate design ideas to make and this one is the easiest nameplate you can make at home. A very simple, easy to make a design which you can make with very little time. All you need is some the materials available at your home. So let’s check it out quickly.
Material needed : –
- A nameplate holder
- Plastic sheet
- letter stickers
- Spray paint colors
- craft papers- cardboard paper
- knife
- marker
- Ruler
Instructions:-
- The first step is spray paint the nameplate holder as it takes time to gets dry. It will be your base to stick the names. You can use the color of the spray paint of your choice. Keep it aside to dry completely.
- Measure the size of the nameplate holder and draw the same size on your plastic sheet and on the cardboard holder with a marker.
- Cut the exact size of on the plastic sheet and cardboard which is marked and keep it aside.
- Now get the nameplate and first insert cardboard and then clear plastic into it. Make sure that the plastic has to be placed on top of cardboard paper.
- Now remove the protective layer from the plastic sheets and stick your name on the card nameplate holder with stickers and your nameplate is ready.
This nameplate looks trendy and very classy. You can change the color of it many times according to your likes. Ideal for your home and every time you see it, it will put up a smile on your face.
2. Wooden nameplate
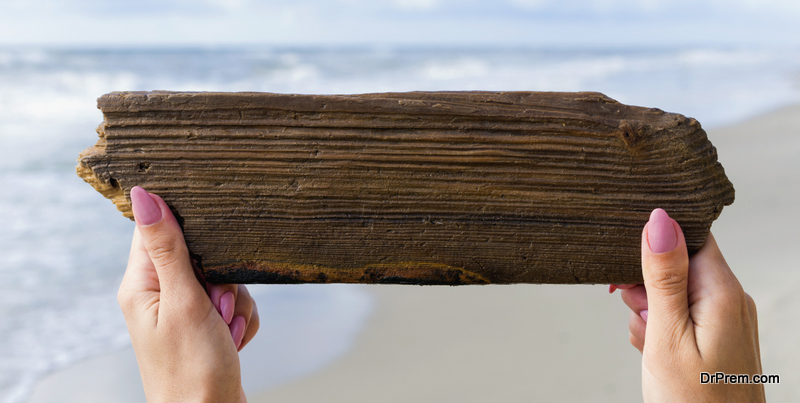 Many people have these queries as forhow to make your own nameplate using recycled materials?And the answer is right here. You can make nameplate using a wooden plank. The wooden nameplate is always looked beautiful on your entrance. It gives a natural feel to your entrance and makes it even warmer and welcoming. Here is an easy method you can give it a try.
Material needed:-
- A wooden plank
- glue
- Acrylic paints
- brushes
- M- seal
- hard clay
- Some varnish
- dental powder or tooth powder
Method:-
- First, you need a wooden plank and cut it in the desired shape. You can give it any shape and size, the way you want.
- Now make a paste using tooth powder and glue. Apply the paste evenly on the wooden plank to give a nice base. Let it dry.
- The next will be creating some patterns on the base. Take some sharp tool and make patterns on it. Again it’s your choice how you want to create a patterned base. If you want, you can even make different borders with a base like crushed stone, sand, or crystals so as to make it even more appealing.
- It’s time to engrave your name with the help of clay. Starts making letters and glue it on the base. Use clay to make different shapes, the design on the base to make it look more beautiful.
- After it gets dry, with the help of black varnish, color the entire wooden plank to give it a base coat. And the last step is to color the name, designs with the metallic colors. Use different colors or you can even use glitters to highlight some part of the nameplates. After you complete it, spray a coat of varnish to get the final touch. Allow it to get dry and your wooden nameplate is ready.
This nameplate is worth try as it looks colorful and beautiful. It looks so perfect that no one can tell if you made it by yourself. Have this beautiful piece of art right at your entrance.
3. Glass nameplate

Now this nameplate is made of glass which is definitely a worth try. It just looks perfect for your home. For this, you will need.
Material required:-
- wooden Board,
- acrylic sheet
- oil based pens
- clamp
- super glue
- plastic cutter
- standoff
How to make:-
- First, cut out the size of the acrylic sheet and the wooden board sheet with the size you want to make your nameplate.
- Now measure it properly and make a hole on the two sides of the wooden board and the acrylic sheet.
- On the acrylic sheet, write on your name in a stylish font with oil-based pens. Oil-based paint doesn’t smudge and it sticks to any surface properly whether it is wood, pottery, metal, rubber or glass. So do not worry to write your name.
- Once you have written the name on the sheet, with the help of standoffs, secure the acrylic sheet on the wooden board. If you want, you can take a gold standoff to match the color of the wooden board and your DIY glass nameplate is ready for amazing décor.